On this page we have instructions for installing KI Studios stripes and decals.

We have included the instructions for installing KI Studios stripe kits, decals and racing numbers on this page. Some of the installation instructions include a video while others are mostly text instructions. Look at the list menu below to jump to the installation instructions of your choice. Some of the instructions work for a wide variety of our products. Pick the one that most closely fits your vinyl of choice.
Choose the instruction topic below to jump to that section
General Vinyl Install Instructions (Read first for all kits)
Tool Needed
Side and Top Stripe Install
Racing Number Decals Install
Headlight Trim Install
General Vinyl Install Instructions
Please read these instructions carefully regardless of what kit you ordered. All KI Studios stripe kits offered online are good for DIY projects. You can of course hire a pro to install them if you wish.
If you take your time, read the instructions carefully and have a little patience, you can get pro results with our stripe kits. Many of the smaller kits are easy enough to install by yourself. In some cases, specially with the larger kits, it would be advisable to have a friend to help.
KI Studios stripe kits, accent kits and racing numbers come in mainly two types: Wet install and dry install.
Wet install kits use water or a solution of water and soap for two purposes. First, the solution prevents the decal from sticking right away, so you can reposition it into place. Secondly, you avoid air bubbles by using a squeegee to push out the solution from between the decal and the surface of the car.
Dry install kits are usually not installed using water. These decals are made using air-release wrap vinyl. Air-release wrap vinyl lets air escape right through the vinyl itself to avoid air bubbles. Dry install kits cannot be slid into place, but they do have less tack. For this reason, you can position them into place and then you squeegee them when you’re sure they are positioned correctly. The only kits we offer in air-release vinyl are the digitally-printed ones and the racing number decals. Keep in mind that air-release vinyl can also be installed wet – it just needs a bit more drying time allowed. It will also be easier to install wet. So, if in any doubt at all, install wet.
Layered color stripes note: Many KI Studios stripe kits are offered in dual color. On these kits there is usually a bottom layer color with a second color that goes on top. In most cases, the top layer is the main color as it covers most of the bottom layer. It is important to note that the top layer in these kits with come with a transparent mask. This is so that you can easily see the layer below and be able to align it correctly.
Tools needed
These are the tools you will need for most of the vinyl decal and stripe kit installations. The only variation would be the dry installation kits which don’t need the spray water and soap solution. Everything else you will need for all installs.
- Xacto knife / razor blade
- Squeegee (Included with most kits)
- Tape measure / Ruler
- Masking tape
- Spray bottle full of water*.
* Optional (but recommended): For a less aggressive initial tack, but longer drying time, you can add 1 drop of liquid dish soap to your spray bottle. We use baby shampoo for our installs. If you use baby shampoo, use 3 drops in the water bottle. Shake before using.
Side Stripe and Top Stripes Wet Application Instructions:
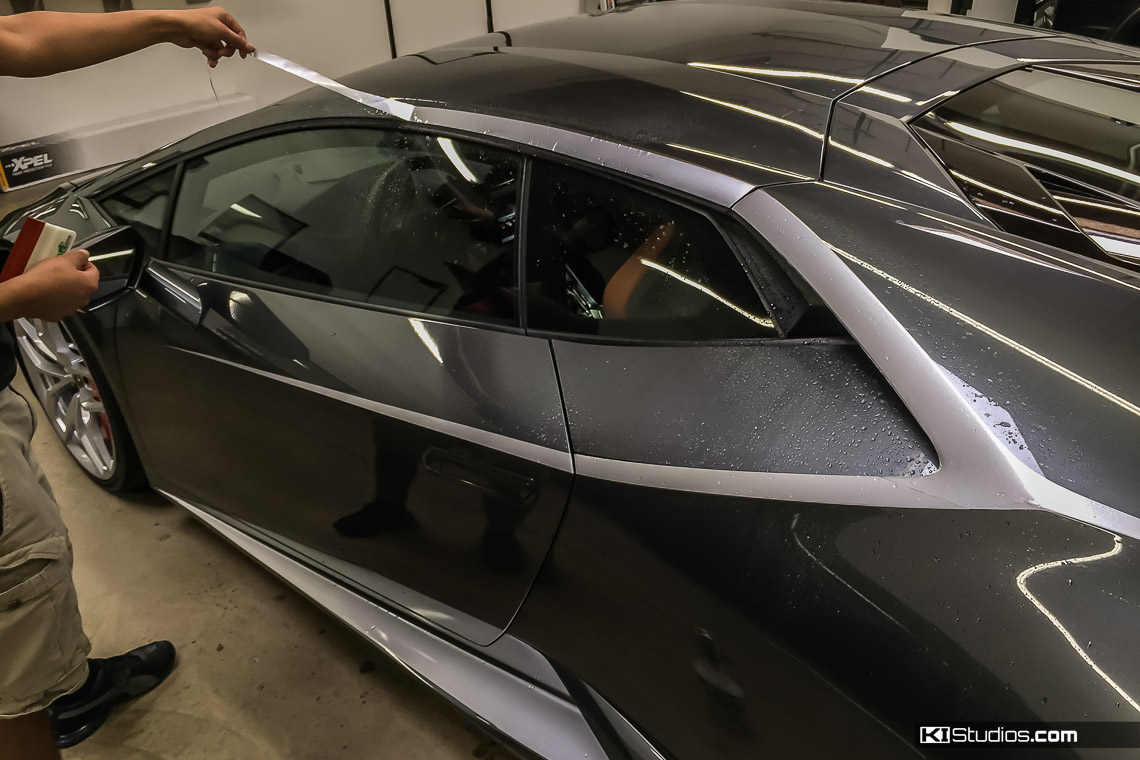
The process for installing side stripes is generally the same as for the top stripes. Almost all of our stripe kits are designed for wet installation. There are some exceptions, namely the digitally printed ones, as they are printed on air-release vinyl that can be applied dry. That said, it can still be applied wet, which would make it easier anyway. It just needs additional dry time.
As with most DIY projects, success is based on taking your time and being very patient. With the wet applications, if in doubt, spray more liquid solution.
Step 1: Clean the vehicle surface thoroughly. Pay special attention to edges, and cracks that may be hiding dust or grime.

Step 2: Test fit by holding your vinyl in place with masking tape. Mark position with tape, or tape in place along top edge, allowing you to peel the backing paper. Make sure the decal is not backwards. Right side decals will only fit well on the right side of the car and vice-versa for the left side.
Step 3: Wet vehicle surface with water solution (See general instructions above). Try to avoid getting the backing paper wet. It would cause it to break down and make it harder to remove.
Step 4: Peel backing paper and generously spray adhesive side of vinyl with water solution.
Step 5: Make sure positioning is correct. (water allows you to temporarily slide the vinyl around the surface). Once you’re happy with the position, move to the next step.
Step 6: If working with solid stripes, or unmasked vinyl, spray top of vinyl before you squeegee to avoid scratches. If in doubt, spray more. It’s good to work with lots of solution, even on your hands.
Step 7: Firmly squeegee vinyl in place, working from center out. If the vinyl moves at all while trying to squeegee, spray more solution and carefully reposition. Be careful not to stretch the vinyl too much as it might deform.
Step 8: Spray masking / transfer tape to loosen and let sit for 5 minutes. This allows it to loosen enough and also give the vinyl time to stick better to the car’s surface.
Step 9: Carefully peel back masking / transfer tape, keeping it flat with the surface so you don’t peel up the fresh vinyl. If some of the vinyl peels off you can add solution and slip back into place and squeegee again.
Step 10: Trim extra overlap along edges with razor blade if needed. In more cases you won’t need to trim, though some kits require it. Just be careful not to scratch the paint when trimming. Most bubbles will squeegee out. However, some remaining bubbles can be carefully popped with a needle or corner of your razor blade before pressing down on it again.
Step 11: Park in the sun to help the stripes dry quicker. The hot sun will also help get rid of some bubbles. Allow a few days with the car in a sun before attempting to wash the vehicle. During this time, be gentle when you wipe down the car or the graphics to avoid damaging them. After a few days you can begin to handle the car as you normally would.
Track Day Racing Number Decals Application:
KI Studios racing number plates are air-release decals, so they can be applied dry or wet. (See the general instructions section near the top.) Since they are not very large, dry application is preferable.
Step 1: Clean and dry the vehicle surface. Vinyl will stick best to a non waxed surface. Dish soap and water will do the trick in removing the wax. Rubbing alcohol will also help achieve a well-prepared surface.
Step 2: Peel the backing paper and stick your numbers into place by applying pressure to the top two corners only. Hold the bottom of the decal away from the car to keep it from sticking all at once.
Step 3: Squeegee horizontally the from the center out, starting from the top of the decal and working your way down.
Step 5: For the standard number decal vinyl, peel off the protective mask from the top of the decal.
Porsche Headlight Surround Trim Installation:
We’ve made a video to give you an idea of the process of installing the Porsche headlight surround trim. The video is a quick overview only, so we’ll give you all the details after the video.
Step 1: Clean the headlights thoroughly. Removal of the headlights is not required, you can install the headlight trim with the lights in the car.
Step 2: Mix a few drops of baby shampoo with water in a spray bottle. Only use a few drops. If you use too much, the solution will be too slippery and will take longer apply.
Step 3: Liberally spray the headlight and surrounding areas with the spray solution.
Step 4: Peel the vinyl from the backing paper and immediately spray both sides generously to prevent it from sticking to itself or anything else. You can even start spraying it before your begin to peel it off the backing, just in case. Again, spray liberally. You can’t have too much liquid.
Step 5: Starting at the top, carefully slide the decal into place.
Step 6: Once the decal is in place, spray the squeegee and use it to begin pushing the water out. Begin at the top. If part of the decal moves out of place as you squeegee it, carefully realign it and proceed. If you need to use more of the spray solution for this, go ahead.
Step 7: After you have pushed out all the solution from the decal and there are no more bubbles allows it to dry in the sun. Any minor residue water under the decal in form of tiny bubbles with disappear after the decal has been allowed to heat in the sun for a few hours.